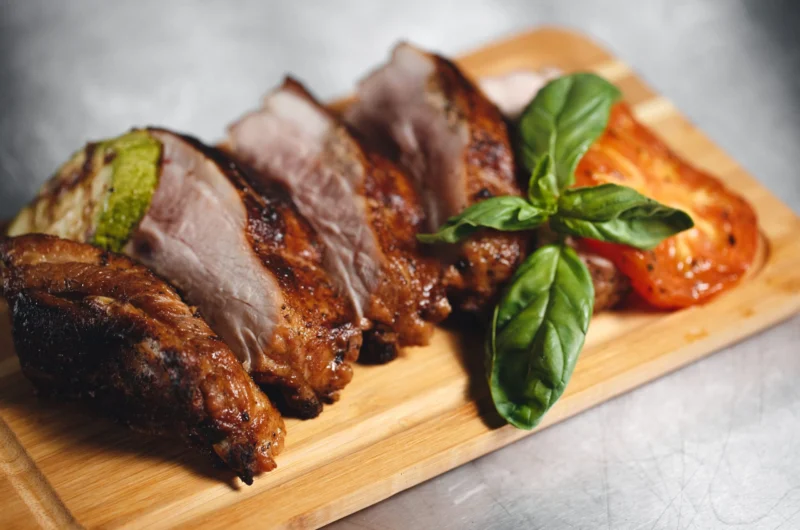
Take your dinner to the next level with our recipe for tender, juicy, and flavorful tender beef back ribs. This easy method makes cooking this meaty cut a breeze. Your guests will be amazed by the tender ribs that fall off the bone.
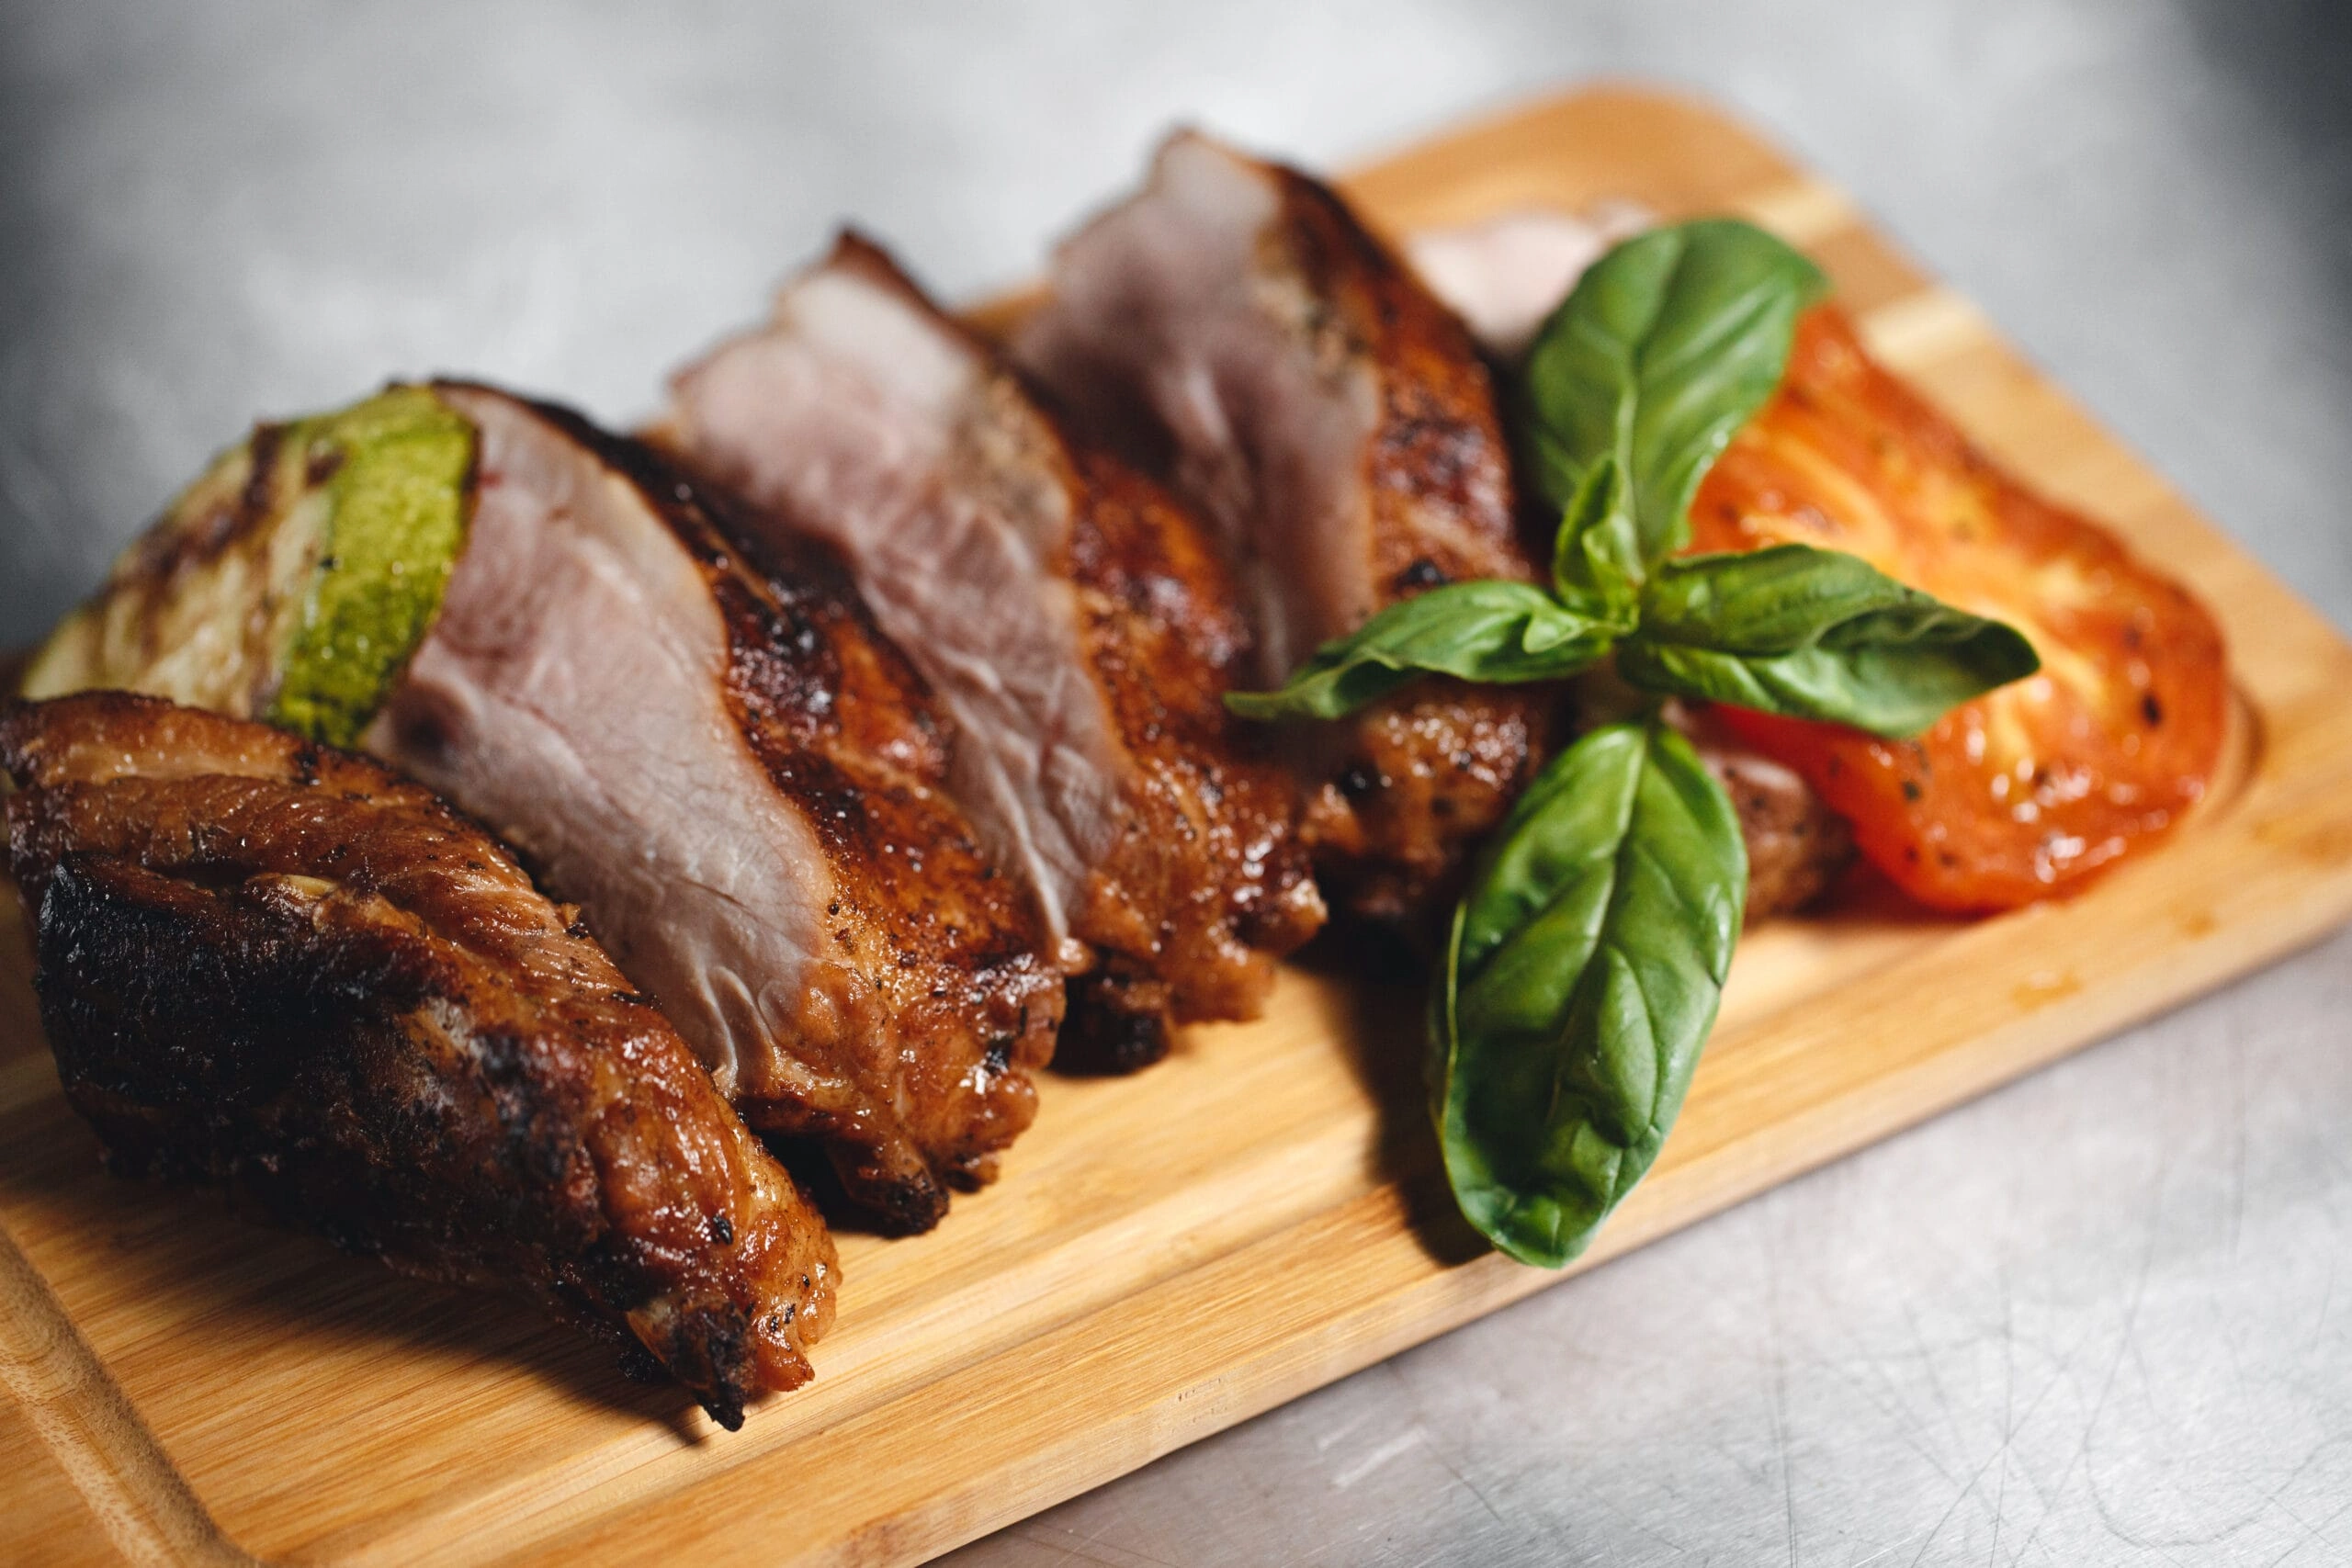
Whether you’re planning a backyard BBQ or a family dinner, this recipe is a hit. It’s perfect for impressing your guests with a delicious main course.
Beef back ribs are known for their tenderness and rich flavor. Cooking them in the oven makes them even more tender. With the right seasoning, you’ll serve ribs that taste like they came from a restaurant.
Understanding Beef Back Ribs: What They Are and Why They’re Special
Beef back ribs are a special cut of meat. They are what’s left after the butcher takes the ribeye roast off the bones. Even though they are leaner, they become juicy and delicious when cooked right.
Difference Between Back Ribs and Other Cuts
Beef back ribs are different from other rib cuts. They are shorter and wider. They come from the loin primal cut, making them tender and good for quick cooking like oven-baking.
Short ribs, on the other hand, are tougher. They need longer, slower cooking like braising or smoking to be tender.
Why Back Ribs Are Perfect for Oven Cooking
The lean nature of beef back ribs makes them great for oven cooking. Cooking them low and slow breaks down the collagen, making them tender. Their shape also ensures even cooking in the oven.
Whether you’re a seasoned rib lover or new to beef back ribs, knowing their special traits and cooking benefits will help you make delicious oven dishes.
Essential Equipment and Tools for Perfect Oven-Baked Ribs
To make perfect oven-baked ribs, you need some key tools. The right tools help your ribs cook evenly. This results in a tender texture and rich flavor.
You’ll first need a rimmed baking sheet or roasting pan. It catches drippings and juices, keeping your oven clean. Use heavy-duty aluminum foil to line it for easy cleanup.
Having a sharp knife and cutting board is crucial for preparing the ribs. You’ll also need a small mixing bowl and a whisk or spoon for the dry rub seasoning.
- Rimmed baking sheet or roasting pan
- Heavy-duty aluminum foil
- Sharp knife and cutting board
- Small mixing bowl
- Whisk or mixing spoon
An instant-read meat thermometer is handy for checking the ribs’ internal temperature. It ensures they’re cooked just right. For easy meat removal, consider rib shredding claws or forks.
| Equipment/Tool | Purpose |
|---|---|
| Rimmed baking sheet or roasting pan | Catches drippings and juices during cooking |
| Heavy-duty aluminum foil | Lines baking sheet for easy cleanup |
| Sharp knife and cutting board | Trims and prepares ribs before cooking |
| Small mixing bowl | Mixes dry rub seasoning |
| Whisk or mixing spoon | Blends dry rub ingredients |
| Instant-read meat thermometer | Checks internal temperature for doneness |
| Rib shredding claws or forks | Easily removes meat from bones |
With these rib cooking tools, you’re ready to make delicious oven-baked ribs. They’ll impress everyone at your table.
Ingredients for the Ultimate Tender Beef Back Ribs Recipe
Make your oven-baked beef back ribs extra tasty with a homemade rub and BBQ sauce. The right mix of seasonings and sauces makes the ribs tender and delicious. Let’s explore the key ingredients for this tasty dish.
Dry Rub Components
The dry rub is the base for your beef back ribs. It adds flavor and a nice crust. Here are the spices you’ll need for your homemade rub:
- 2 tablespoons of light brown sugar
- 2 teaspoons of chili powder
- 1 1/2 teaspoons of garlic powder
- 1 1/2 teaspoons of ground cumin
- 1 teaspoon of onion powder
- 1/2 teaspoon of ground black pepper
- 1 1/2 teaspoons of fine sea salt
Optional Marinade Ingredients
Marinating your beef back ribs can make them even more tender and flavorful. A mix of apple cider vinegar and hot pepper sauce is a great choice:
- 3/4 cup of water
- 1/4 cup of apple cider vinegar
- Hot pepper sauce to taste
BBQ Sauce Selection
Finish your rib dish with a tasty barbecue sauce. You can pick a store-bought sauce or make your own. Choose a sauce that goes well with your dry rub for the best taste.
Preparing Your Ribs Before Cooking
Before cooking your beef back ribs, you need to prepare them well. The first thing to do is remove the thin membrane from the bone side. This membrane stops the seasonings and flavors from getting into the meat. This makes the meat less tender and less flavorful.
To remove the membrane, use a blunt knife or your fingers. Gently peel it off. This step, called rib membrane removal, is key to making your ribs tender and juicy. After removing the membrane, dry the ribs with paper towels. This gets them ready for seasoning and cooking.
- Use a blunt knife or your fingers to gently peel off the thin membrane on the bone side of the ribs.
- Pat the ribs dry with paper towels to remove any excess moisture.
By properly preparing your beef back ribs, you’re setting up for a delicious oven-baked rib experience. Removing the membrane and drying the ribs lets the seasonings and flavors get into the meat. This makes the final product more tender and flavorful.
Creating the Perfect Dry Rub Seasoning
To make your beef back ribs irresistible, start with a great dry rub seasoning. This mix of spices and seasonings is key for deep, caramelized flavors. Your guests will love it. Let’s explore how to mix and apply the perfect rib rub seasoning.
Measuring and Mixing Spices
For a balanced rib rub seasoning, measure carefully and mix well. In a small bowl, combine:
- 1/4 cup (60 ml) smoked paprika
- 1/4 cup (60 ml) garlic powder
- 1/4 cup (60 ml) onion powder
- 1/4 cup (60 ml) ground black pepper
- 2 tablespoons (30 ml) salt
For more flavor, add:
- 1 tablespoon (15 ml) dried oregano
- 1 tablespoon (15 ml) dried thyme
- 1 teaspoon (5 ml) cayenne pepper
Mix everything until it’s well combined. You now have a delicious rib rub seasoning or spice blend for ribs.
Application Techniques
Now, it’s time to put the dry rub on the ribs. Coat all sides well, rubbing it into the meat. This helps the flavors get deep into the ribs, making them tender and juicy.
For the best taste, let the rubbed ribs chill in the fridge for at least 30 minutes. This lets the seasonings soak into the meat, creating a tasty crust and keeping the juices in.
Remember, the secret to a great rib rub is finding the right mix of sweet, savory, and spicy. Play with the amounts to find your family’s favorite. With this homemade seasoning, your oven-baked beef back ribs will be a huge success!
Step-by-Step Oven Cooking Method
Getting ready to make oven-baked ribs is easy and fun. First, heat your oven to 275°F. This low heat makes the meat tender without drying it out.
Put your seasoned beef back ribs on a foil-lined baking sheet, bone-side up. The foil keeps juices in and makes cleaning up easy. Then, cover the ribs with foil tightly. This “low and slow” method is crucial for that tender texture.
- Bake the ribs for 4 hours. If you have cut ribs, bake for 3 hours.
- The foil keeps the ribs moist by sealing in juices.
- For a full rack, 4 hours is enough to make the meat tender and flavorful.
This method is the secret to perfect oven-baked ribs and slow-cooked ribs. Just follow these steps, and you’ll get ribs that fall off the bone every time.
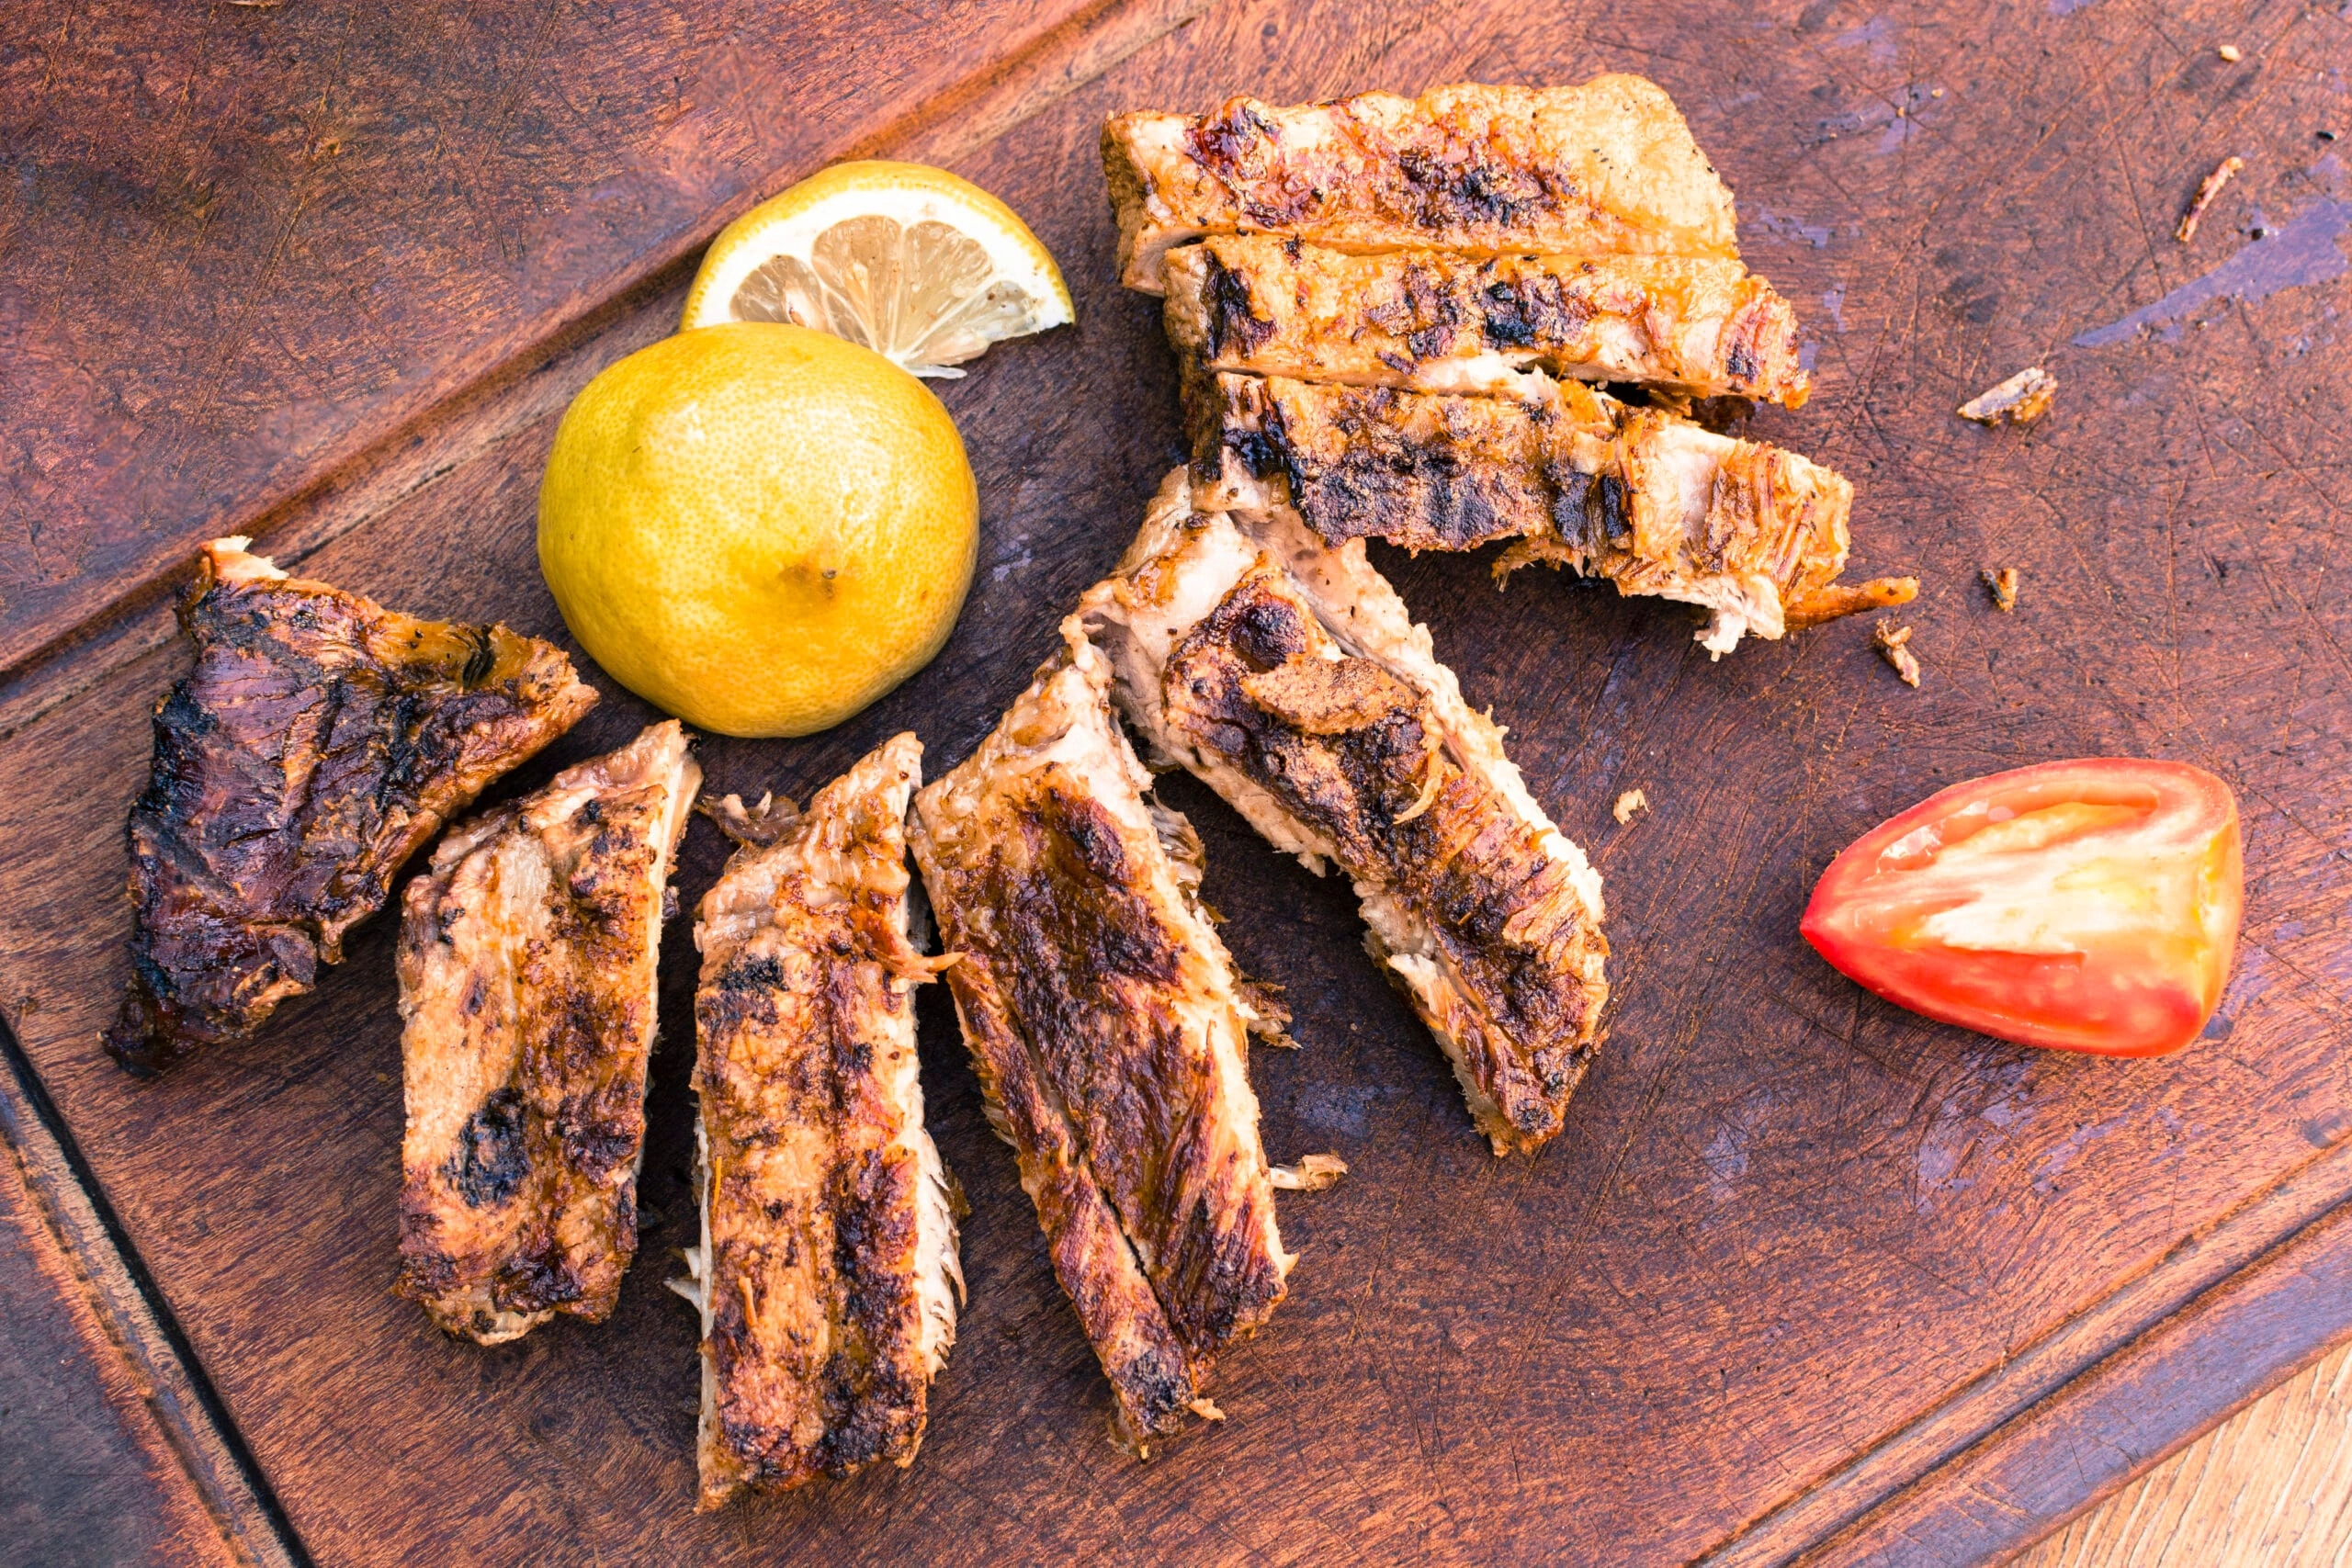
| Cooking Temperature | Cooking Time | Serving Size | Nutrition Facts (per serving) |
|---|---|---|---|
| 275°F | 4 hours | 1/4 rack |
|
Temperature and Timing Guidelines
To get perfectly tender and flavorful beef back ribs in the oven, pay close attention to temperature and cooking time. Follow these guidelines for the best rib cooking temperature and rib doneness.
Optimal Cooking Temperature
For succulent, fall-off-the-bone beef back ribs, use low and slow cooking. Cook your ribs at 275°F for about 4 hours. If you want them even more tender, try cooking at 250°F for 5 hours.
Stay away from high-heat cooking. It can make the ribs tough and dry.
How to Know When Ribs Are Done
- The meat should come off the bone effortlessly with a gentle pull.
- Use a meat thermometer to check for an internal temperature of 195-200°F. This indicates the ribs are cooked through and tender.
- Visually, the ribs should have a deep reddish-brown color and appear moist and juicy.
Remember, patience is key when cooking beef back ribs. The low-and-slow method might take more time. But it’s the secret to achieving that irresistibly tender, flavorful texture.
Basting and Glazing Techniques
To take your beef back ribs to the next level, try rib basting and glazing ribs. These techniques boost flavor and make your ribs tender, juicy, and caramelized.
If you marinated your ribs, baste them every hour with apple cider vinegar and hot sauce. This mix tenderizes the meat and adds a tangy, spicy flavor. Make sure to use three portions of the marinade to avoid contamination.
For a stunning glaze, make your own barbecue sauce. Mix ketchup, soy sauce, balsamic vinegar, honey, bourbon, molasses, and corn syrup. Add smoked paprika or liquid smoke for extra flavor. Brush the glaze on your ribs for the last 30 minutes to get a caramelized, shiny finish.
For a grilled look, place your glazed ribs on the barbecue for 10-15 minutes. Turn them often until the sauce sets and the edges char.
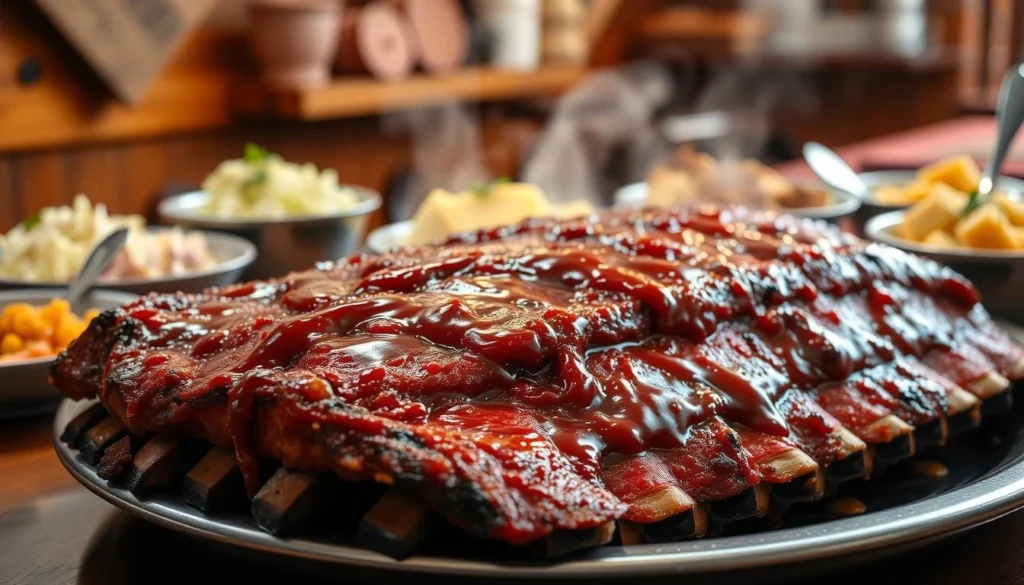
Mastering rib basting and glazing ribs will make your beef back ribs unforgettable. Serve them with your favorite sides for a meal that will wow everyone.
Adding the BBQ Sauce Finish
After slow cooking, it’s time to add BBQ sauce to your beef back ribs. This step boosts flavor and creates a tasty caramelized crust. Your guests will love it.
When to Apply Sauce
Brush the ribs with your favorite BBQ sauce for ribs in the last 30 minutes. This makes a delicious glaze. Choose a high-quality BBQ sauce that matches your ribs’ flavor.
Broiling Methods
- Preheat your oven’s broiler to high heat.
- Place the BBQ sauce-coated ribs about 6 inches below the broiler element.
- Broil the ribs for 3-5 minutes, keeping a close eye to prevent burning.
- The broiling ribs step adds a delightful caramelized finish, locking in the savory flavors.
This final broiling technique makes your ribs sticky-sweet, just like in a restaurant. Pair with your favorite sides for a satisfying meal.
| Metric | Value |
|---|---|
| Success rate of the recipe | 4.97 out of 5 stars from 61 votes |
| Cooking time | 4 hours and 5 minutes |
| Average caloric content per serving | 643 calories |
| Protein content per serving | 64g |
| Fat content per serving | 34g |
| Saturated fat per serving | 14g |
| Cholesterol per serving | 195mg |
| Sodium per serving | 1166mg |
| Potassium per serving | 1308mg |
| Total carbs per serving | 16g |
| Fiber per serving | 1g |
| Sugar per serving | 12g |
| Net carbs per serving | 15g |
| Vitamin A per serving | 575IU |
| Calcium per serving | 46mg |
| Iron per serving | 8mg |
| Airtight storage time for leftovers | Up to 4 days in the fridge |
Follow these steps for tender and caramelized oven-baked beef back ribs. Enjoy your delicious meal!
Resting and Serving Your Ribs
After baking, it’s time to let your beef back ribs rest. This step is key for juicy, flavorful meat. It makes every bite tender and full of taste.
Let the ribs sit on a cutting board or platter for 5-10 minutes. This lets the meat soak up juices again. It’s important to wait before eating.
After resting, cut the ribs into individual pieces. Use a sharp knife to cut cleanly between the bones. Serve with sides like coleslaw, baked beans, or roasted veggies.
Don’t forget the barbecue sauce. Have it on the side for guests to add as they like. Now, your oven-baked ribs are ready to enjoy with family and friends.
| Resting Time | Recommended Internal Temperature | Cooking Time |
|---|---|---|
| 2-6 hours | 202°F | 3.5-4 hours |
Patience is key for delicious ribs. Let them rest well for fall-off-the-bone tenderness every time.
Storage and Reheating Tips
Proper storage and reheating can make your beef back ribs last longer. Keep leftovers in an airtight container in the refrigerator for 3-4 days. To reheat, use the microwave at 50% power, covered, or a preheated oven at 350°F for 15-20 minutes.
This method keeps the ribs tender and flavorful. For longer storage, freeze the ribs for 2-3 months. Cool them down first, then put them in a sealed container or bag.
Thaw in the fridge or cold water before reheating. Use the oven, grill, or smoker at 275°F for 30-60 minutes to warm them up. This way, you can enjoy your ribs anytime, whether it’s a quick dinner or a big barbecue.
